I took photos with my digital camera of all the stages for the following recipe. From the assembled ingredients to the finished cooked fish in my old green salmon fish dish you can see in a previous recipe BLOG.
Each time I turned the camera off it came up with a message but I did not have my reading specs to hand and it usually says something at that stage. We were just about to eat the meal when Pat said, 'Don't you think you should find your glasses and read the message?' 'O.K.' I said reluctantly, as by this time I was fed up with impersonating David Bailey and wanted to just get on and eat it.
Guess what the message said – No Card in Camera!
So the photos attached are just a couple of quick ones before we ate it. Sorry about presentation there was parsley garnishing the fish in cooking dish in the first photos!
You will see from my Thursday 13th October BLOG, we bought quite a bit of fish from the farm in a neighbouring village, hence quite a few fishy recipes appearing here, but there will be other recipes as we go through the winter using my home grown veggies and store of chicken and anything else that takes my fancy.
I am not one to plan what I eat, although my husband asks me every day, I just say ‘Whatever you fancy’ so he gets fish or chicken out of the freezer and if he forgets I do a vegetarian.
Then unless I get inspiration for a slow cooking dish, I just rustle something up about half an hour before we want to eat.
Here is today’s offering.
The tomatoes were ripe so I used the last of those that had been sunbathing in the conservatory (more in drawers in the shed to check on!).
Baked Red Snapper
Ingredients
2 fillets of Red Snapper or (4 or if you are doing it for more people)
*Juice of a lemon
*A few Glugs of Olive oil – say 2 tablespoons
*1 chopped or thinly sliced clove of garlic – mine was a juicy thick one
*1 tsp dried Oregano (I was not going out in torrential rain for fresh, but use 2 fresh.)
Tomatoes – nice and ripe, slice, chop or quarter – whichever looks pretty to you
S & P to taste, but I never use salt. Fish swim in it all day don’t they?
Method
Wash the fish and pat dry and give them a couple of twists of freshly ground pepper.
Put everything marked with a * into a bowl and mix well. In an appropriate sized baking dish or tin (shallow sided, not casserole dish) pour in the liquid reserving a spoonful for each fillet. Lay fillets flesh down in juice whilst you cut up the tomatoes. Turn them over and coat them well with the juice and leave flesh side up. Arrange the tomatoes around and coat in juice too. Put a couple of slices on each fillet and spoon over reserved juice.

My snapper took 15 minutes to cook on 200c in a fan oven. Conventional oven to need to preheat and check the equivalent temperature.
To go with it I washed and dried one of my small butternut squashes. Cut off the stalk, cut it into quarters lengthwise, scooped out the seeds, drizzled a little virgin olive oil over it and baked it on a metal baking sheet for 10 minutes before the snapper went in, (so for a total of 25 minutes) for a lovely caramelly, soft, buttery, flavour. I did not remove the skin and you would never have known it - as it just melted in your mouth.
We mopped up the gorgeous juices with a chunk of granary bread from the Bakery.
Notes
I love garlic but I only used one clove as an enhancement to the lemon juice, you don't want to overpower the flavour of the Snapper. The flavours of lemon, garlic, oregano, and tomatoes worked really well. I should think that you could use a tin of tomatoes instead in the winter, but I will use my roasted tomatoes. I would also serve this with potatoes, and steamed veggies - mange tout, green beans, carrots, that would look attractive on a plate wouldn't it?
P.S.
I labelled my courgettes, squash and pumpkins using old washed lolly sticks, with a permanent marker pen. The tops of the sticks grew tiny toadstools – honestly – and the marker pen writing ended up illegible.
The butternut squash plants got mixed up with the courgettes and shared the same bed. I was cutting them as tiny courgettes all summer, until one we had a week of rain and they got bigger and resembled butternuts. But having only bought butternut squash from the supermarket that were peanut colour I was a bit confused and thought that these must be courgettes as they were green, so carried on using them like that, leaving about 10 near the end of the season to get a bit bigger as I was swamped with courgettes and not many people wanted them as freebies ad they didn’t eat them.

I cut them at the end of the season, and put the on the window ledge in the conservatory and they are going supermarket butternut colour now.
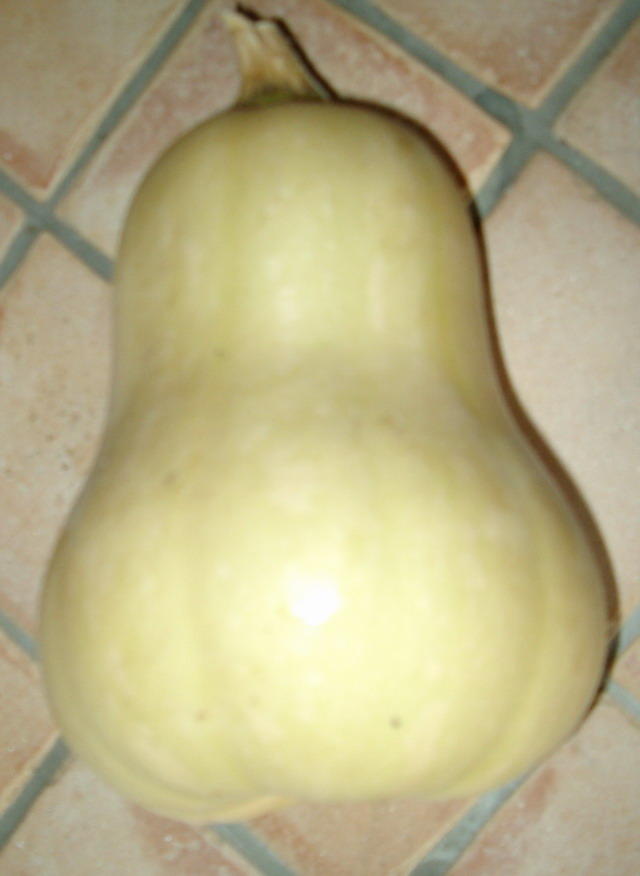
I really am a beginner and this years learning curve is HUGE!!
No comments:
Post a Comment
Thank you for visiting and leaving a comment - it is very much appreciated. Your comment will appear after moderation.